Most homeowners who call Decorative Concrete of Austin – Polished & Stained Concrete about a garage floor coating have a general idea of what the finished product looks like, but not a clear picture of what the installation process involves. That gap in expectations is where most of the friction in garage floor projects comes from. Someone did not know the garage needed to be empty. Someone expected a one-hour job and got a full day. Someone was not told that the floor needs 72 hours before vehicles can return.
This post walks through what a garage floor coating installation actually looks like from the initial estimate to the day the car goes back in, so you know what to plan for before the project begins.
The Estimate and Site Assessment

Every garage floor project starts with a site visit. We look at the slab, not just a photo of it. The assessment covers slab condition, checking for existing cracks, surface damage, previous coatings, and contamination. We test for moisture vapor emission, one of the most common causes of coating failure, which cannot be evaluated without direct measurement. We look at the garage layout, door locations, floor drains (if present), and any features that affect how the installation is staged.
This is also when we discuss the finish. Flake color and blend, topcoat sheen level, and any design preferences are part of the estimate conversation. We bring samples and reference materials so the decision is made with a clear picture of the finished result rather than based on a description.
For homeowners in West Austin, Lakeway, Round Rock, and across the metro, the estimate is free and carries no obligation. We give a clear scope and timeline so you know exactly what the job involves before any commitment is made.
Preparing the Garage
Before installation day, the garage needs to be completely cleared. Vehicles, storage items, shelving units, bicycles, sports equipment, everything needs to come out. Grinding generates fine concrete dust that gets into everything, and the coating application requires an unobstructed floor surface. Cabinets and wall-mounted shelving units that cannot be removed should be covered.
If there is an existing coating on the floor, we assess during the estimate whether it needs to be fully removed before the new system goes down. In most cases where a previous coating has failed or is significantly worn, full removal by grinding is required. We will communicate this clearly during the estimate so it is part of the planned scope, not a surprise on installation day.
Day of Installation: Surface Preparation
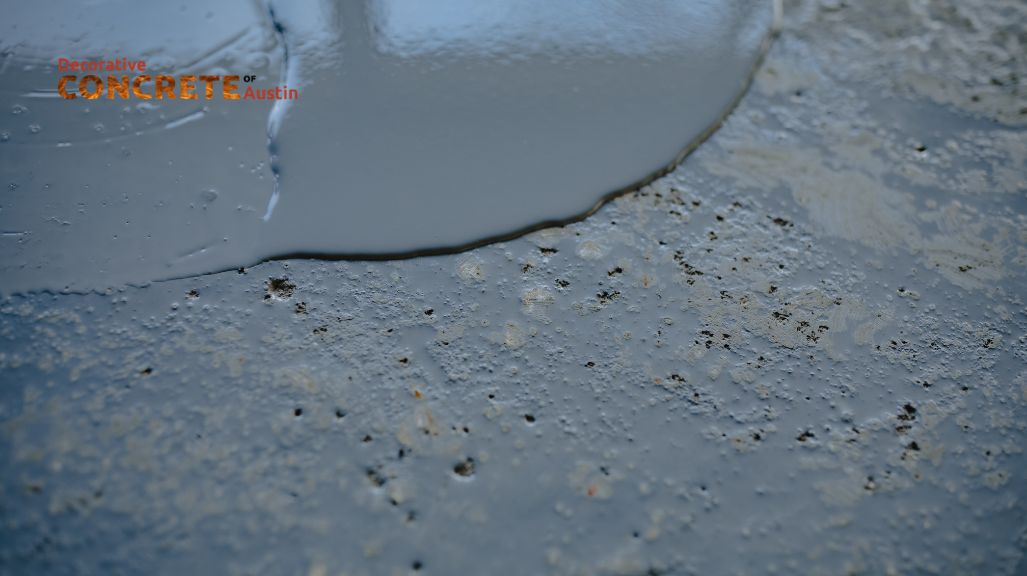
The installation begins with surface preparation, which is the most time-intensive part of the job and the most important. We use professional diamond grinding equipment to mechanically profile the entire floor surface. This removes any surface laitance, opens the pores of the concrete, and creates the mechanical texture the coating needs to bond reliably. The grinding pass also reveals surface variations, low spots, or soft concrete areas that need to be addressed before coating.
After grinding, the floor is vacuumed thoroughly. Any cracks identified during grinding or the initial assessment are cleaned out and filled with a semi-rigid filler material. Floor drains are masked. The perimeter of the floor is carefully cut in to produce a clean edge against the walls and the door threshold.
If moisture testing conducted during the estimate indicated elevated vapor emission rates, a moisture-mitigating primer is applied at this stage and allowed to cure before the base coat goes down. Skipping this step on a high-moisture slab is one of the primary causes of coating failure, and we check for it on every project in Austin and thesurrounding areas where clay soil conditions make elevated slab moisture common.
The Base Coat and Flake Broadcast
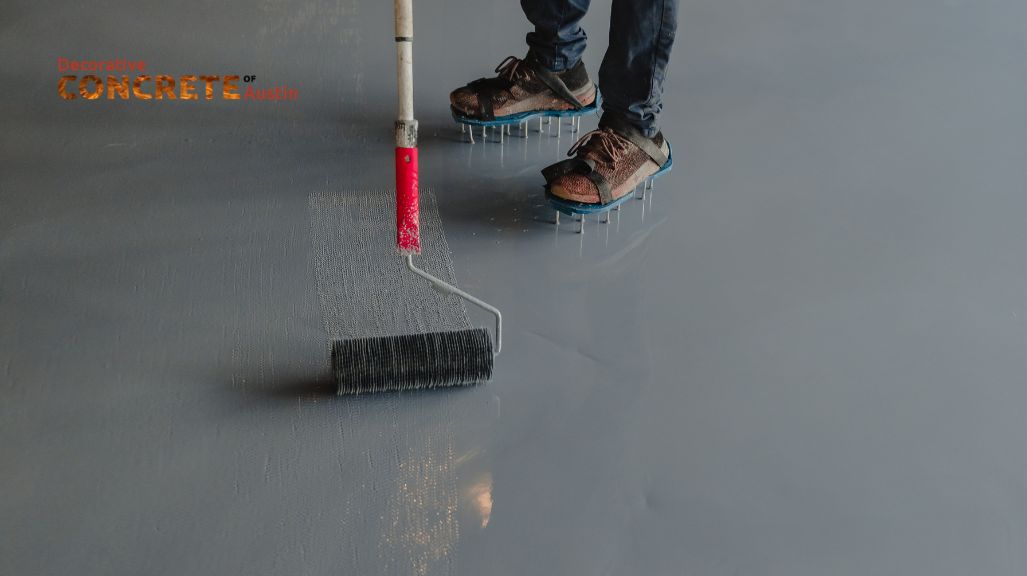
 Once the surface preparation is complete and any primer has cured, the epoxy base coat is applied. We use a 100% solids epoxy formulation applied at the appropriate mil thickness for the system. This is a two-part product, resin and hardener, that is mixed immediately before application and must be applied within its working window.
While the base coat is still wet, colored vinyl flake is broadcast across the surface. The broadcast is done by hand, throwing the flake upward and letting it fall onto the wet coating in an even distribution. The broadcast density affects both the appearance and the texture of the finished floor. A full broadcast, where the flake completely covers the base coat, produces the most consistent appearance and the most anti-slip texture. A partial broadcast shows more of the base coat color between the flakes, producing a different aesthetic.
The floor is allowed to cure at this stage. Excess loose flake is scraped off and vacuumed once the base coat has hardened sufficiently.
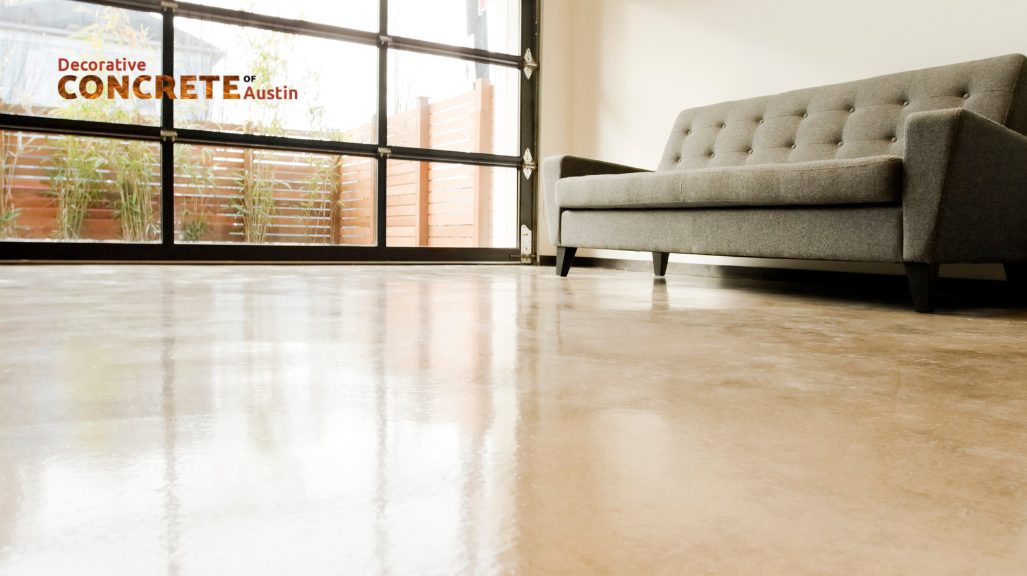
The Polyaspartic Topcoat
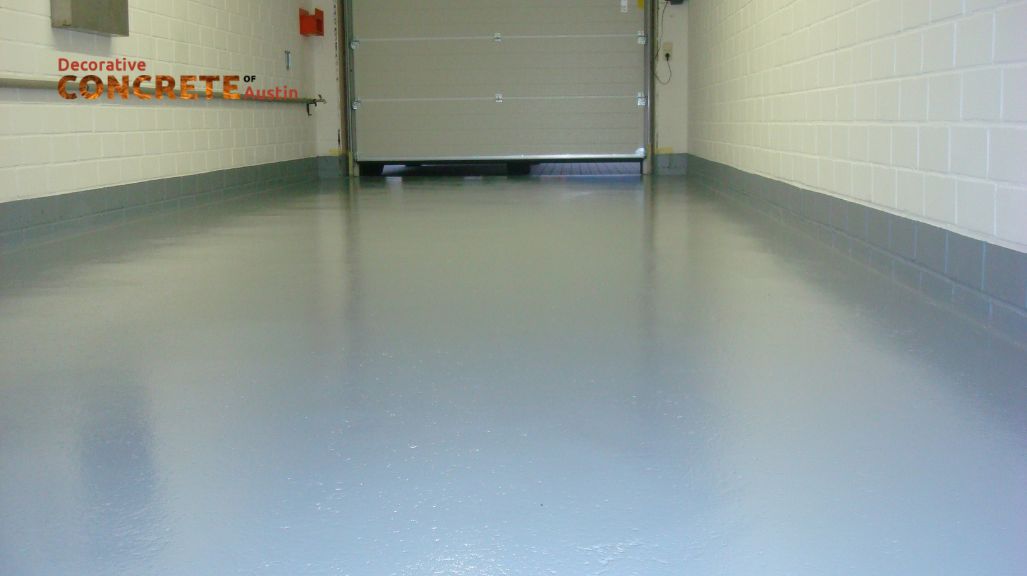
The final step is the polyaspartic topcoat, which locks in the flake layer and provides the UV-stable, abrasion-resistant finish surface of the completed floor. Polyaspartic cures significantly faster than epoxy, and the topcoat reaches a walkable surface within a few hours under normal conditions.
We apply the topcoat in two passes to ensure consistent coverage over the flake layer and adequate film build for long-term durability. The topcoat is what you walk and drive on, and its quality directly affects how the floor holds up over the years. We use professional-grade polyaspartic products formulated for the temperature ranges and UV conditions present in Central Texas garages, not consumer-grade products that will chalk and yellow under Austin’s summer sun.
Cure Time and Return to Service
The floor is ready for foot traffic within 24 hours of the topcoat application under normal Austin temperature conditions. We ask clients to wait the full 72 hours before driving vehicles back in. This allows the full coating system to reach its final cure hardness before it is subjected to the weight and turning friction of vehicle tires.
Parking a vehicle on a coating that has not fully cured can leave tire marks that are difficult to remove and can cause surface deformation under hot tires in summer. The 72-hour wait is not arbitrary. It is based on the actual cure kinetics of the polyaspartic topcoat under the temperature conditions present in an Austin garage.
After the Installation
Once the floor is in service, day-to-day care is simple. Sweep or blow out debris, damp mop with a pH-neutral cleaner when needed, and address oil and chemical spills promptly rather than letting them sit. The floor does not require waxing, stripping, or scheduled resealing under normal residential garage use.
We are available for any questions after installation and will come back to assess the floor if anything looks unexpected in the first weeks of use. Our goal is a floor that performs as we described during the estimate, and we stand behind the work we do.
If you are ready to get started or want to understand what your specific garage would involve, schedule a free estimate. We cover all of Austin, Cedar Park, Leander, Georgetown, Pflugerville, and throughout Central Texas.