The Finish Designers Keep Asking For
There’s a finish that shows up in high-end home renovation photography, boutique hotel lobbies, and modern restaurant interiors across Austin — a seamless, matte concrete surface with no grout lines, no tile edges, no visible seams. It flows from floor to wall to countertop like a single poured surface. That finish is almost never poured concrete. It’s a microtopping.
At Decorative Concrete of Austin, microtopping is one of the most technically demanding products we work with. The finished result is striking. Getting there requires a level of surface prep and application skill that most applicators underestimate — and that underestimation is why you see so many cracked or delaminated microtoppings on jobs that were installed too quickly or over the wrong substrate.
This is a plain-language explanation of what microtopping actually is, where it works, where it doesn’t, and what separates a successful installation from a failed one.
What Microtopping Is
A microtopping is an ultra-thin polymer cement overlay — typically 1 to 3 millimeters thick (roughly 1/16 inch) — applied in multiple layers over an existing surface. The product is a blend of fine cement, polymer resins, and mineral pigments. It cures to a hard, dense finish that bonds directly to the substrate and becomes a permanent part of the surface.
The polymer content is what distinguishes microtopping from ordinary concrete. Pure cement would crack at this thickness because it has no flexibility. The polymer component gives microtopping enough tensile strength to stay intact across a thin cross-section and to move slightly with normal substrate movement — within limits.
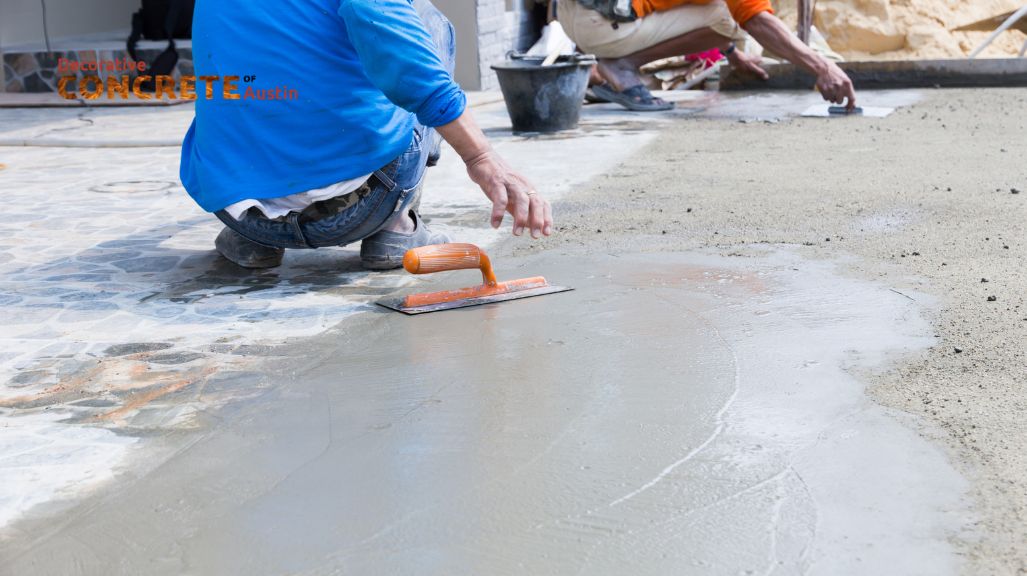
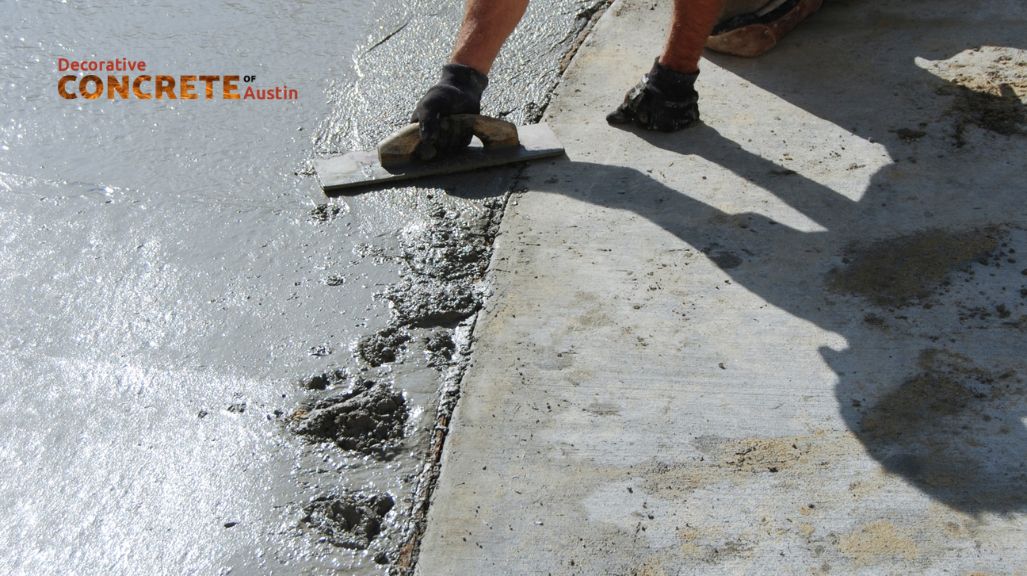
It’s applied by hand with a trowel or squeegee in multiple thin passes, typically two to four coats with sanding between applications. The process is slow and deliberate. The final coat determines the texture — from near-glass smooth to lightly brushed — and then the surface is sealed with a penetrating or film-forming sealer appropriate to the use environment.
What Microtopping Works On

Microtopping can go over almost any substrate that is sound, flat, and properly prepared:
- Concrete slabs (most common application)
- Existing ceramic or porcelain tile — if well-bonded, flat, and with grout lines filled
- Cement board or backer board
- Plywood substrates (with a polymer primer and fiberglass mesh reinforcement for crack resistance)
- Existing concrete overlays that are well-bonded
The key qualifier in each case is that the substrate must be dimensionally stable. Microtopping is thin enough that any movement in the substrate will reflect through to the surface. On plywood specifically, deflection between joists — the slight flex you feel walking across a wood subfloor — is enough to crack microtopping without proper reinforcement layers underneath.
Where Microtopping Is the Right Choice
Interior Floors
This is the primary application. Interior concrete slabs in Austin homes, condos, and commercial spaces are ideal candidates — especially in West Austin and South Austin where open-plan homes with polished or stained concrete are common. Microtopping transforms a plain gray slab into a designed surface with color, texture, and a seamless appearance.
Walls and Vertical Surfaces
Microtopping applied to walls creates a Venetian plaster-adjacent look with far more durability. In Downtown Austin commercial interiors and restaurant buildouts, wall microtoppings have become a standard finish for a reason — they’re easy to clean, durable, and impossible to replicate with paint.
Countertops
Microtopping over existing tile or laminate countertops can completely transform a kitchen or bathroom without demolition. This application requires a product formulated specifically for countertop use — with higher polymer content and an appropriate sealer rated for food contact and heat resistance.
Showers and Wet Areas
Waterproof microtopping systems exist for shower walls, shower floors, and bathroom floors. The waterproofing layer is separate from the microtopping itself — a membrane applied to the substrate before any overlay work. Without a proper waterproofing layer, microtopping in a wet area will fail.
Where Microtopping Is the Wrong Choice
Microtopping is one of the most demanding products to apply correctly, and it’s one of the most unforgiving when the conditions aren’t right. Here’s where it fails:
Over Cracked or Moving Substrates
Microtopping does not bridge cracks. Any crack in the substrate — even a stable hairline — will eventually reflect through the overlay. On exterior concrete, where thermal movement is significant, this happens faster. In Central Texas, where summer temperatures push concrete surface temps well above air temperature, the expansion and contraction cycles are substantial. We generally do not recommend microtopping for exterior applications in Austin’s climate unless the surface is covered and protected from direct sun.
High-Traffic Commercial Floors
Microtopping is not the right product for warehouse floors, heavy retail environments, or any space with consistent forklift or pallet jack traffic. The cross-section is too thin to take that kind of point loading. Epoxy or polyaspartic systems (see our epoxy coatings page) are the right choice for high-abuse commercial floors.
Over Non-Bonded Substrates
Any substrate with a bond-breaking contamination — oil, wax, silicone, existing sealer that hasn’t been fully removed — will cause delamination. This is the most common cause of microtopping failure on DIY installs. The substrate needs to be mechanically abraded or chemically etched to open the surface profile, then primed with a compatible bonding primer. There are no shortcuts on this step.
What a Proper Installation Looks Like
Here’s what we actually do when we install microtopping on an interior concrete floor:
- Surface prep: Diamond grind or shot blast the substrate to CSP 3 or better. Remove all contamination, existing coatings, and laitance.
- Crack treatment: Fill hairline cracks with epoxy crack filler. For wider cracks, rout and fill with semi-rigid polyurea. These do not eliminate crack reflection risk — they reduce it.
- Primer: Apply a two-component epoxy primer to seal the substrate, equalize absorption, and create a mechanical bond surface for the overlay.
- Base coat: First microtopping layer, applied thin and worked into any surface irregularities. This coat is about coverage and bond, not finish.
- Sand and inspect: After cure, sand lightly, inspect for pinholes or thin spots, and address before proceeding.
- Finish coat(s): One to three additional coats depending on the system, sanding between each. The final coat determines the surface texture.
- Sealer: Apply a sealer appropriate to the use environment — penetrating sealer for a natural matte look, water-based polyurethane for added durability, or epoxy topcoat for the most protective finish in commercial spaces.
This process takes two to three days on a typical residential floor. Rushing the cure time between coats is one of the most reliable ways to compromise the finished product.
Microtopping vs. Other Overlay Options
Microtopping is not the only thin overlay option. Here’s how it compares to common alternatives, all of which we offer through our overlay and resurfacing services:
- Self-leveling overlays: Thicker (1/8–1/4 inch), easier to apply, can correct minor floor flatness issues. Less design flexibility than microtopping.
- Stampable overlays: Much thicker, can take texture stamps. Used for patio and driveway resurfacing — not the right product for interior design applications.
- Polished concrete: Works directly on the existing slab surface with no overlay. Different aesthetic — see our polished concrete page for that comparison.
- Stained concrete: Color treatment for the existing slab, not an overlay. Good for floors with adequate surface quality. See our stained concrete floors page for more.
Microtopping is the right choice when the goal is a seamless, designed surface with thin cross-section and maximum design flexibility. It requires the right substrate, the right product, and experienced hands applying it.
What to Ask Before You Hire Anyone for Microtopping

Microtopping has become popular enough that many contractors offer it without the experience to install it correctly. Before you hire anyone — including us — ask these questions:
- What surface prep method do you use? (Acceptable answers: diamond grinding, shot blasting. Unacceptable: acid etching only.)
- What primer system do you use, and is it compatible with the overlay product?
- How many coats will you apply, and what’s the cure time between coats?
- What sealer will you use, and is it appropriate for this use environment?
- Can I see examples of your previous microtopping installations — specifically failed ones you’ve repaired, and what caused them?
If a contractor can’t answer those questions in detail, find one who can. In Central Austin and across the Austin metro, Cedar Park, and Round Rock, we’ve built our reputation on doing this work correctly. If you’re considering a microtopping project, reach out to us first for a consultation.
Areas We Serve
Decorative Concrete of Austin serves homeowners and businesses throughout Central Texas, including Austin, South Austin, West Austin, Central Austin, Downtown Austin, Cedar Park, and Round Rock. Contact us to confirm availability in your area.